

How To Set Trail Camera High
You lot have finally found the perfect spot for you trail photographic camera. The deer trail is beat downward similar a cow path, and the just matter left to do is set your photographic camera and expect. With ample options to hang your camera, how close do you lot place it? At what bending is all-time for detecting movement? And the most important question you lot might have is how loftier should you hang the trail camera?
Ofttimes the majority of problems people accept with setting upward trail photographic camera traps is not the settings inside the trail photographic camera, but the bodily concrete act of hanging the photographic camera. Hanging a camera besides high or to low, placing the camera at a less than platonic angle to pick upward motility of an beast, and setting the camera also close or to far away from where the fauna volition motion through, are all common mistakes.
How High Should You Hang a Trail Photographic camera?
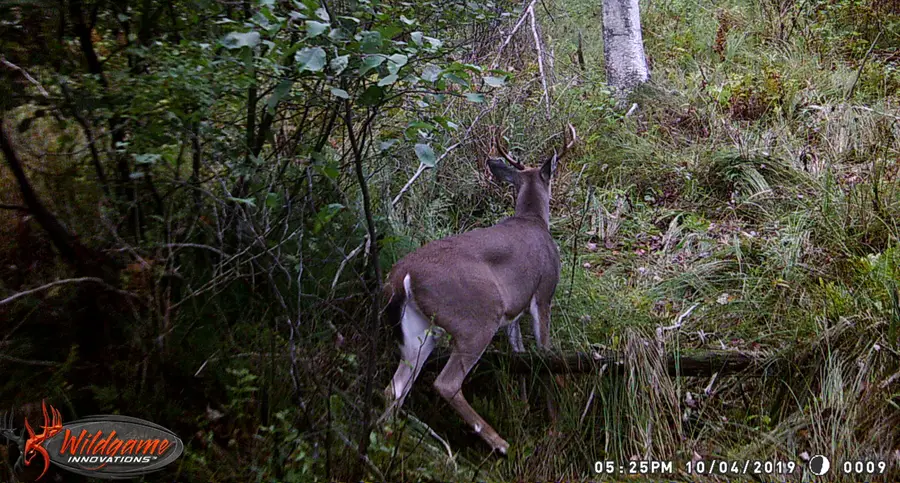
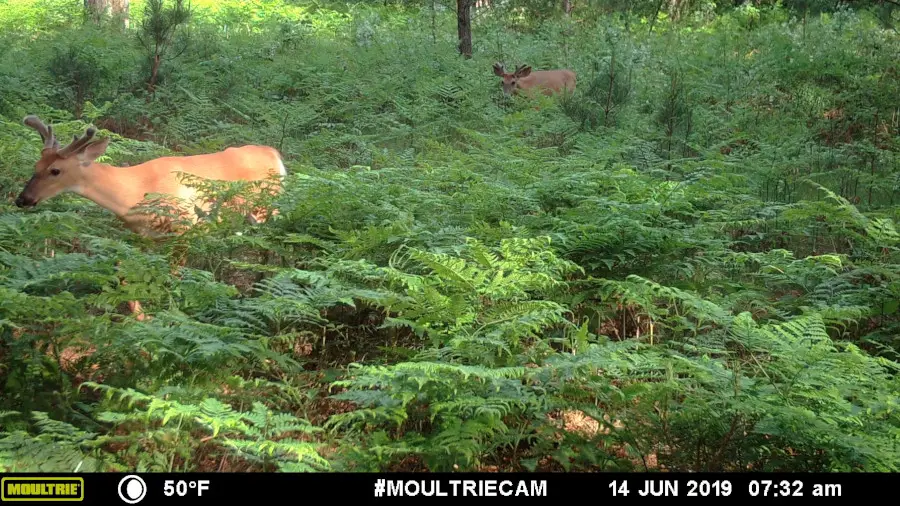
The all-time peak to hang a trail photographic camera is at the heart height of the fauna's body. This gives the camera's PIR detection system the best opportunity to detect the alter in infrared from the surrounding area.
Obviously not every situation allows y'all to hang the trail camera at the ideal summit. Some situations volition require some ingenuity to go the camera in the right spot. And then lets look at the about popular heights to hang your trail camera.
Creature Height

A passive infrared (PIR) detection system on a trail photographic camera is linear, meaning that the actually detection zone of the camera is a straight line across the front of the camera. When hanging a trail camera at the height of the creature, at that place is a better opportunity for the camera to detect the motility of infrared that is produced by a passing animal.
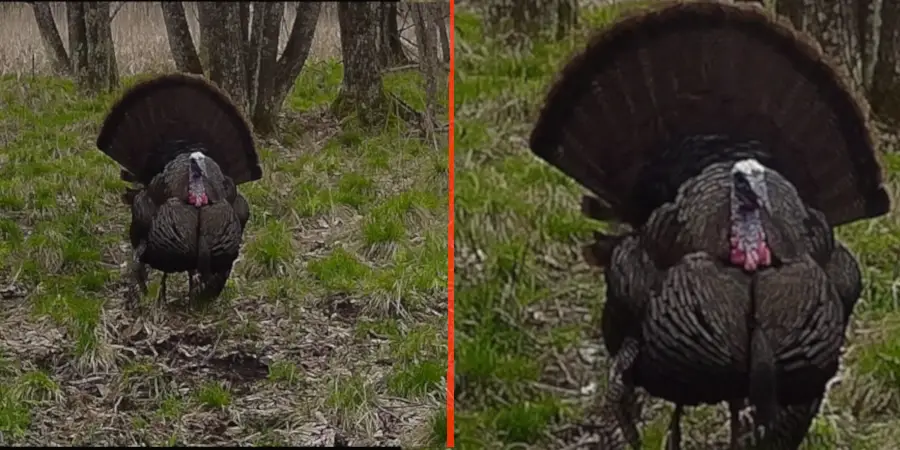
The centre body mass of an beast whether it be a deer (approx. 2-3 ft) an elk (approx. four ft) or a turkey (approx. 1.5 ft), when centered to the height of your trail camera will requite yous more surface area for your PIR organisation to find.
Information technology is important to understand that the linear line on the PIR detection organization is non a thin line that goes across the unabridged view of your camera, but is typically a linear line that is most the aforementioned size every bit the entire view of a photo, commonly chosen the field of view. The reason that is important to sympathise is that when you brainstorm to change the tiptop of your camera, the actual detection zone begins to shrink.
For example, most trail camera users are hunters, and ane of the most of import aspects of hunting is to have an upstanding shot on an animal. The ideal position for an animate being to be standing is completely broadside. This gives the hunter the most surface for an upstanding shot at the vital areas (centre & lung). When a shot from a hunter is from a steep summit, the surface surface area in which the shot needs to be placed shrinks due to the angle.
The same principles of shot angles are involved with setting upwardly your trail camera. When the photographic camera is setup at the peak of an creature, in that location is more than surface area for the photographic camera to detect. As those angles change from hanging the camera higher up or beneath the animals height the amount of surface area the photographic camera is able to detect begins to shrink. So, for that reason, trail camera manufacturers recommend placing the photographic camera at the height of the animal for optimal detection ability.
Hanging Higher
Hanging a photographic camera higher than the acme of the animal is one of my favorite ways to hang a trail camera. These elevated sets not only keep the camera out of the view of other people, which comes in handy for public country situations, it also keeps the camera out of the sight of any animal that may detect the new decor inside the expanse.
When placing a camera above an animal, you will take to figure out the bending in which yous will demand to tilt the camera to go on the photo centered to the target. Typically when hanging a camera above 6 ft, you volition want to motility the trail photographic camera away from the area you suspect an brute to be. This will keep yous from having to tilt the camera too much, while yet being able to cover a larger area.
If you place the photographic camera too close to the trail in which you anticipate an animal to cross, the angle in which you will need to tilt the camera will be too steep, and limit the corporeality of area your camera will be able to cover.
Hanging Trail Cameras Low
Every bit hanging trail cameras at a college height has gained in popularity, some people have begun to hang their cameras at ground level and tilt them upwards. The thought process is that if more than and more quack people begin to catch on to the habit of looking into the tree awning for cameras, the more cameras will exist in jeopardy of existence stolen. By hanging the camera closer to the ground, you are once again keeping your trail camera out of the line of view.
While this may work, there are a few things that you might want to consider before hanging your cameras at ground level.
- The Detection Bending- Similar to hanging your camera high in a tree, you will need to suit the bending of the camera in order to capture the fauna in the field of view. The problem with hanging it low, is that if you are off on your angle just a little fleck, you will get an entire SD menu total of an animal's legs.
- Difficulty of tilting the photographic camera up- If the objective reasoning for placing a photographic camera at ground level is to continue the camera out of sight, you volition have a difficult fourth dimension tilting the photographic camera without the employ of a camera mount. When using a photographic camera mountain the camera volition stick out from the tree a bit, defeating the purpose of trying to hibernate it.
- Condensation- When hanging your trail camera closer to the ground, you increase the likelihood of creating condensation on the camera lens. We have a groovy resource all about the reasoning backside trail camera condensation, and means to forestall this.
While there are some drawbacks to hanging your photographic camera too low to the basis, you tin can apply this angle to accept some pretty amazing photographs, particularly at dawn and sunset.
On every trail photographic camera, in that location is a low-cal meter sensor that detects the amount of light bachelor in the immediate area. When the low-cal is too depression, the lite meter transmits that data to the exposure tables within the photographic camera'southward firmware. The exposure tables then commands the IR filter to drib in front of the lens, and activates the night time flash. This is how trail cameras are able to accept black and white nighttime fourth dimension photographs.
Past hanging the trail photographic camera low, and fishing the camera up, in certain situations, you are able to manipulate the light meter to think there is enough light in the area to take a colour photo. For hobbyist trail camera users, this is a great way to take a photo of a silhouette of a deer with a dusk in the back drop. It takes a lot of time and patience to get the camera, the lighting, and the deer in the perfect conditions, but the results can be amazing.
What Angle is Best for Hanging a Trail Camera
The all-time angle to hang your trail camera is straight perpendicular to where you suspect the animal will travel. This will allow the elements in the PIR system to hands detect modify in infrared.
PIR Sensors
Most people, including myself, often explain that a passive infrared sensor (PIR) works past detecting the movement of infrared within a detection zone. While this is true in the sense of why a PIR sensor works, but isn't necessarily the complete story on how the sensor works, and knowing the how will give y'all better agreement of the best way to hang your trail photographic camera in the field.
Fresnel Lenses, Sensors and Elements
The PIR sensor of your trail camera is a metallic housing that is continued directly to the circuit board of the camera. Within the housing of the PIR sensor itself, there are two elements that are sensitive to infrared radiations. Ane element covers the left zone of the trail camera's detection zone, and the other covers the right zone. Both elements are balanced to have the verbal same sensitivity to infrared. When both elements discover equal amounts of infrared radiation, the camera is inactive. The moment a human or animal moves into the detection zone, either from the correct or the left, the infrared that the body omits creates an imbalance of infrared between the two elements, creating the camera to trigger a photo.
The basic concept of having ii elements, one on each side of the camera is simple to sympathize, only this is where things become much more than complicated. The blackness piece of plastic typically located either in a higher place or below the lens of the photographic camera is called the fresnel lens. The purpose of the fresnel lens is to divide the two basic zones from the PIR elements into much more intricate zones. This keeps the elements alone from simply creating two square zones, and instead volition give you multi zone detection, that creates your camera'southward detection zone.
And then, how does all this information help in determining which angle yous should place your camera? It is simple: the PIR sensors work best when detecting movement from perpendicular angles. When an brute approaches a camera from directly on, there are gaps in between the detection zones, not assuasive for the elements to differentiate between each other, resulting in animals getting much closer to the photographic camera before the infrared is detected.
Placing the camera at a perpendicular angle to the movement of animals volition allow the elements to detect infrared movement more precisely, leaving you with far less missed triggers.
Slightly Angled
One trick that I have learned over the years is if you have a camera with a slower trigger speed, that is often just taking photos of the hind quarters of animals as they stroll by, is to angle the camera slightly toward the path you suspect them to utilise. This will allow the animal to pass through the detection zone at enough of an bending to trigger a photograph, but will keep the brute within the field of view for a longer menstruation of fourth dimension. Even with a slower trigger speed, the longer the animal is in the field of view, the better opportunity you lot will take in capturing the photo.
How Far Away Should You lot Hang a Trail Photographic camera?
If you lot hang your trail camera at an creature's trunk height, directly perpendicular to their line of travel the average distance you should place the camera is between 25 and 35 feet.
That is but an boilerplate however, equally each individual trail camera has its own unique specs of detection altitude, field of view, trigger speed and interpolation, that may alter the distance in which you place your photographic camera.
Detection Distance and Interpolation
The detection altitude and the interpolation settings on your trail camera go hand in hand in determining how far away you should place your trail camera. Before nosotros dive into how these two settings work together, information technology is important to sympathize what each one does on its own.
Detection Distance
The detection altitude of a trail camera is the maximum distance that the camera can detect, in society to initiate the trigger. Every make and model of trail camera is going to have a different distance of detection. These distances can range from 40ft to 140ft and everywhere in between.
Interpolation
Interpolation is a process that happens within the firmware of your photographic camera, that essentially duplicates pixels. Each trail camera has what is known as an image sensor. The image sensor works similar to the mode film used to piece of work in older cameras. It essentially just captures the photo when the shutter on the camera opens.
Each image sensor, has a native resolution. This resolution is in essence the actual size of the photo measured in megapixels. The native resolution on today'due south trail cameras range from 1.6 MP to 5 MP. And so, despite what you read on the box of your photographic camera, the actual size of your photograph is no larger than 5MP.
How interpolation works, for instance, yous take a trail photographic camera with a 5 MP prototype sensor, and the camera claims to have twenty MP photos. When the camera takes a photo, the photo is taken in 5 MP native resolution. The software at the back stop of the camera duplicates pixels in order to reach the xx MP advertised resolution. And so, you are essentially only still getting 5 MP of unique pixels.
Combining Detection Distance and Interpolation
Understanding the Interpolation within your trail photographic camera is important in recognizing how much of the detection altitude yous should use from your camera. When you lot zoom in a photograph that utilizes interpolation, you will discover that the lines get blurry the more you zoom in. This is considering when the camera duplicates pixels, it is guessing as to which colour pixels information technology needs. The more you zoom the more you realize that the lines are blurred.
Once you lot empathize that concept, it is easy to see that setting a camera with a high interpolation setting, at the extreme terminate of its detection distance, gives your photos smaller less distinguishable images, causing you lot to loose details of your images.
When this happens you have two options:
- Plow the interpolation on the camera downwardly, making the images closer to the native resolution. This will give your images more than true pixels, and will keep your photographic camera from blurring lines, allowing y'all to zoom into photos with less "noise."
- Set the camera closer to where you lot believe the animate being is passing through. This will give you closer images, and eliminate the demand to zoom in.
Field of View, Detection Angle and Trigger Speed
When ownership a trail camera, it is very common for a consumer to await at the trigger speed and automatically assume that the faster the trigger, the better it must exist. The truth is a fast trigger speed can be a reliable tool on a trail camera, but as long every bit information technology is matched well with the Field of view and the detection angle. Hither is a quick break down of each characteristic.
Field of View
The field of view on your photographic camera is the bodily bending in which your camera takes a photo. This angle can range anywhere from 32 degrees all the mode upward to 65 degrees. This is the angle of the photo.
Detection Angle
The detection angle is different than the field of view, as this angle is the bending in which your photographic camera is able to detect an animal. Some cameras have detection angles that are smaller than the Field of View and others may have detection angles larger. Most ofttimes the the ratio of field of view to detection angle is adamant past the trigger speed.
Trigger Speed
The trigger speed is the corporeality of time it takes for the camera to take a photograph once the camera detects an animal. There is an entire checklist of things that the camera must practice in this corporeality of time, from detection, to reading the low-cal meter, change settings based on exposure tables, and opening and endmost the shutter. Trigger speeds range from as fast as .07 seconds all the mode upward to a full 2nd.
Combining Field of View, Detection Angle and Trigger Speed
You lot will find that most higher stop cameras volition have a smaller detection angle, coupled with a faster trigger speed giving you a better opportunity to have an animal centered inside the frame of a photo. Most trail cameras with a slower trigger speed will provide a wider detection angle than the field of view, providing more time for the animal to motility into the field of view before the photo is taken.
When setting your camera, you will need to keep the angles of the field of view and the detection angle in listen. If you envision these angles coming out from your photographic camera in the shape of a cone, you volition see that the closer to the photographic camera you get the less amount of fourth dimension your camera has to accept a photo, and the faster the trigger speed needs to be. If you have a slower trigger speed, with a narrow detection bending, you will desire to move the photographic camera further abroad, allowing the animal to stay inside the field of view for longer.
Conclusion
While there is a lot of considerations yous need to accept into account when hanging a trail camera, the almost important thing is to sympathize the basic concepts of how a trail camera works. In one case yous empathize how your photographic camera is designed, it is simple to experiment and manipulate the position of the camera to become the most out of your trail photographic camera.
Source: https://www.trailcamjunkie.com/hanging-trail-cameras-how-high-what-angle-and-at-what-distance/
Posted by: johnwasion.blogspot.com
0 Response to "How To Set Trail Camera High"
Post a Comment