

How To Change Wordpress Site From Blog To Website
Nov 12, 2021
Freddy M.
4min Read
How to Change WordPress Domain Name: A Step-by-Step Guide

Some projects eventually need to be rebranded under a different name. This article will show you step-by-step how to change WordPress domain name for a WordPress website.
Why Change Your Domain Name?
In many cases, changing WordPress domain name is inevitable. The most common scenarios are:
- Rebranding – you want to rebuild your company's image with a new brand name. Here, a new domain reflects your rebranding strategy's consistency. Some prominent brands like Twitter applied this marketing strategy very successfully.
- Domain Extension Change – if you currently running a website on a subdomain like mywebsite.wordpress.com, or you're using a less popular extension like .mobi or .shop which doesn't resonate well with your audience, swapping to a different extension can be a great idea!
How to Change WordPress Domain Name?
For the most part, the steps to change WordPress domain are simple, but some tasks will require you to tweak your site's PHP code.
Keep in mind, modifying the code might put your website at risk if you don't do it the right way. Be sure to follow these prerequisites before changing the domain name:
- Full backup of your site. – a full backup (a backup of Files and Databases) is needed in order to transfer your website's content onto the new domain name. You can automatically back up your site via a plugin or the file manager.
- hPanel or an FTP client – if you want to change the WordPress domain, you'll need access to your hPanel by logging into your Hostinger account or configure FileZilla Client to do it via FTP.
- A new domain name – proper research is required before settling down on your final decision.
1. Purchase a New Domain Name
First and foremost, head to Hostinger's domain checker and type in your preferred domain. You'll find out if your option is available, and get some suggestions on a few alternatives as well as domain costs.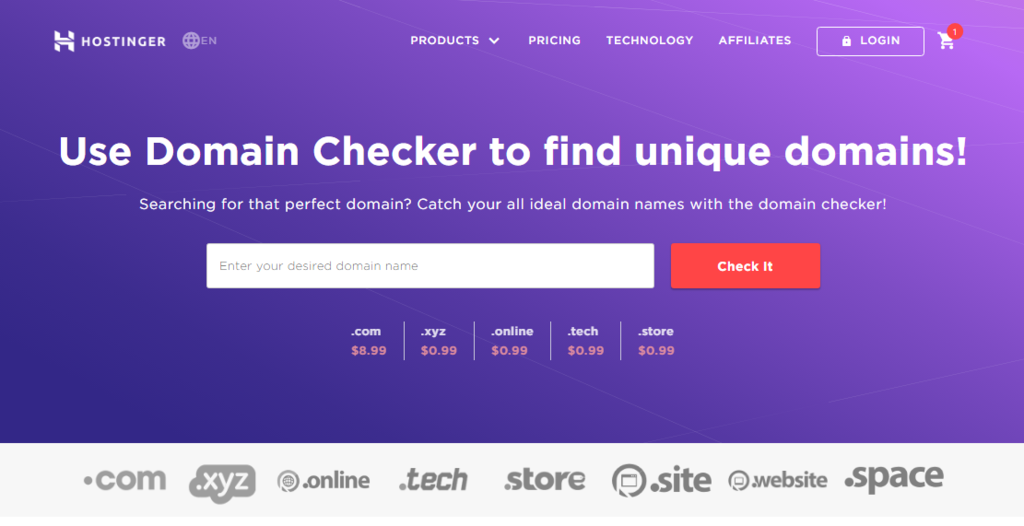
From there, add your domain to the cart, and proceed to check out. Then register it to ensure it's active.
You can also get free domain registration for the first year if you purchase Hostinger's annual Premium or Business shared hosting plans.
2. Add the New Domain Name and Upload the Backup
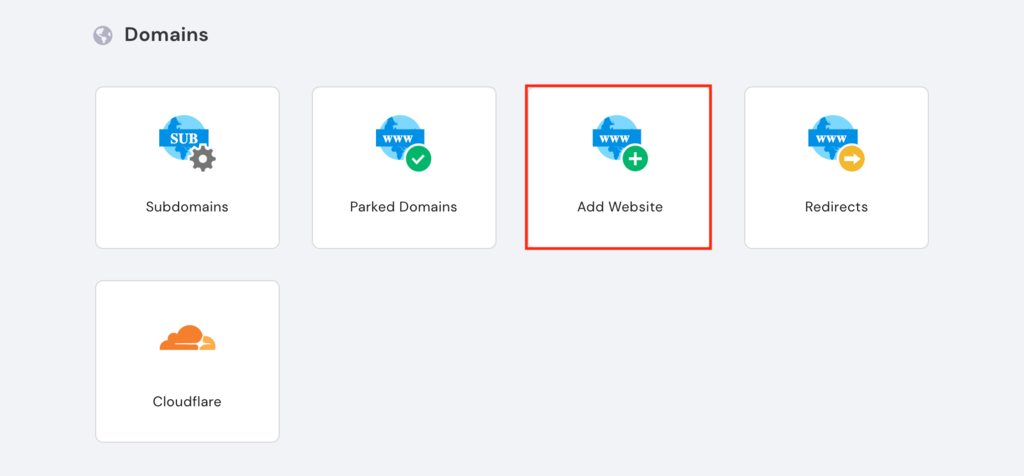
Next up you should add the new domain name to your existing hosting plan.
- On the hPanel, scroll down to Domains and select Add Website.
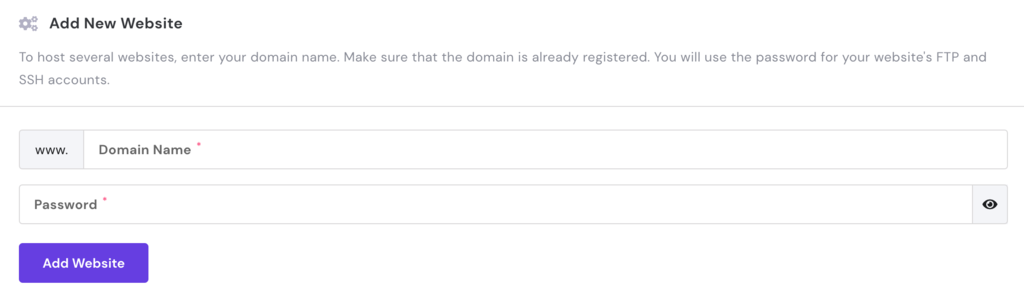
2. Add your new domain name, create a password and click Add Website.
3. Connect via FileZilla and upload your site's backup.
NOTE: If you use Cloud Hosting, you'll need to back up the database too. If you are using Shared hosting, you don't need to worry about it.
3. Change Website URL Using the WordPress Admin Dashboard
The next step to change WordPress domain is to add your new domain to the WordPress General Settings.
Head to Dashboard -> Settings -> General. Replace your current WordPress Address (URL to visit your site) and Site Address (URL of your core files) with your new domain. Hit Save Changes once you're done.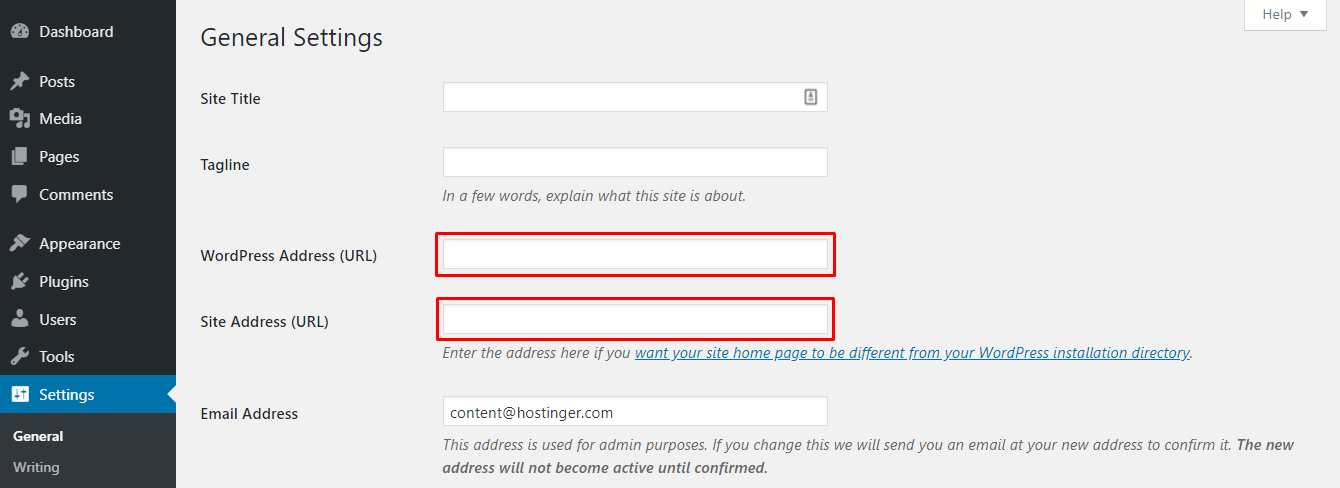
We're not done just yet. Before re-accessing your site using the new address, complete the following remaining steps.
4. Update the wp-config.php File
To reflect the changes you made in the WordPress settings, you have to edit the wp-config.php file. You can access it from the hPanel's file manager or by using FileZilla.
- Head to hPanel -> Files -> File Manager.
- Choose the domain and click Go to File Manager.
- Locate the wp-config.php file in the public_html folder.
- Right-click and select Edit.
- In the following snippet, replace http://yoursitename.com with your new WordPress domain name, then insert it into the file and press Save & Close.
define('WP_HOME','http://yoursitename.com'); define('WP_SITEURL','http://yoursitename.com'); Your wp-config.php file should look like this"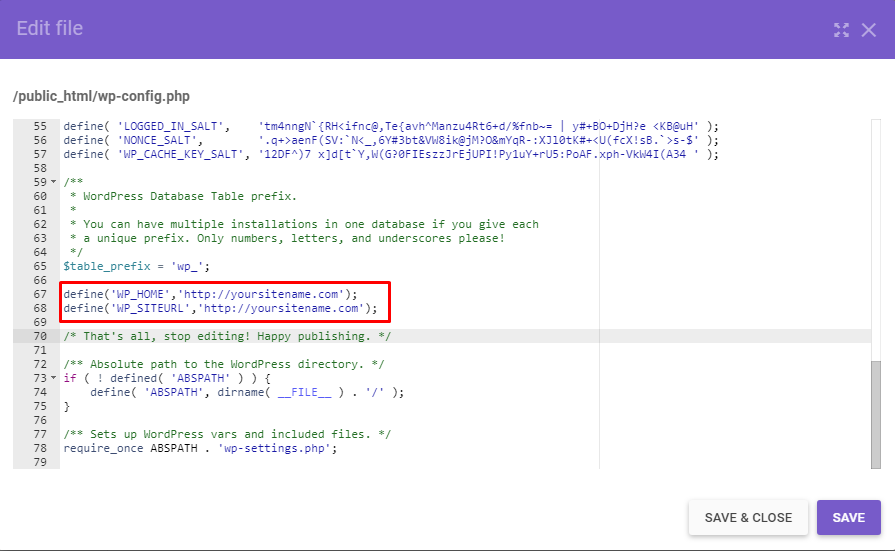
If you prefer using an FTP client, the process will be almost identical. You'll just need to use the FTP account credentials to access the site's files.
5. Update Your Database
Next, you'll have to update your WordPress site's database:
- Navigate to hPanel -> Databases -> phpMyAdmin.
- Choose the database where your WordPress files are located and click Enter phpMyAdmin.
- On the phpMyAdmin page, find the wp_options file.
- Select Edit on the site URL and home rows.
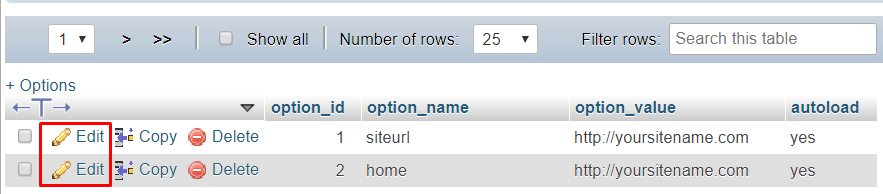
- Replace the current URL with your new domain and press Go.
6. Redirect Old WordPress Domain Permanently
The final step to changing WordPress domain requires you to create a 301 redirect – a URL redirection from your old domain to the new one. Additionally, the redirect will carry over Google's PageRank, making sure that all of your efforts put into SEO don't go to waste when moving to a new domain.
We recommend keeping your old domain active for a while. This both allows users to find you if they're not aware of the domain change and lets the search engines recognize the redirection.
Let's dive into the hPanel to edit the .htaccess file and create a 301 redirect:
- Go to hPanel -> Files -> File Manager.
- Select your old domain and click Go to File Manager.
- Find the .htaccess file in the public_html directory.
- Right-click and choose Edit.
- Insert the following code, after replacing http://yoursitename.com with your new domain, then press Save & Close.
#Options +FollowSymLinks RewriteEngine on RewriteRule ^(.*)$ http://yoursitename.com/$1 [R=301,L]
 Same as with the modifying wp-config.php, this step can be completed with an FTP client.
Conclusion
There could be many reasons why you might want to change WordPress domain name. Luckily, WordPress provides a built-in URL address settings and allows you to manually tweak the PHP code through a file manager or an FTP client to effectively change your domain.
In this tutorial, you've learned the steps required to change your WordPress domain. Here's a quick recap:
- Do a full backup of your website.
- Purchase your new domain name and register it.
- Add the new domain name and restore your site's backup.
- Change your website's address in your WordPress settings.
- Update the wp-config.php file through the hPanel or an FTP client.
- Update the site's database.
- Tweak the .htaccess file to redirect visitors and search engines to your new domain.
Give it a try and good luck!

Freddy is a WordPress theme reviewer at WP Theme Raves, a published WordPress blogger, web dev and founder of Vista Media Enterprises – an online business dedicated to WordPress users looking to boost conversion rates through content marketing. He shares his wealth of experience here.
How To Change Wordpress Site From Blog To Website
Source: https://www.hostinger.com/tutorials/change-wordpress-domain-name
Posted by: johnwasion.blogspot.com
0 Response to "How To Change Wordpress Site From Blog To Website"
Post a Comment